The Ultimate Guide to Growing Cannabis Indoors: Seed to Harvest
Learn how to grow high-quality cannabis indoors from seed to harvest. This comprehensive guide covers grow room setup, lighting, climate control, and nutrient management for maximum yields.
Key takeaways
- Seed selection matters Autoflower seeds are great for beginners because they don't require light cycle changes to bloom, while photoperiod seeds offer larger yields and cloning capabilities.
- Less is usually more Overwatering and nutrient burn are the two most common beginner mistakes. Taking a conservative approach to watering and feeding saves crops.
- Control the environment first Buying top-tier genetics without climate and VPD control will lead to subpar yields. Focus on environment, then nutrients, then strain selection.
- Invest in testing instruments A reliable digital pH pen and EC meter are mandatory for consistent feeding and preventing nutrient lockout.
- Patience during post-harvest Drying and curing account for 50% of your final flower quality. Never rush drying with high temperatures or direct fan airflow.
Growing top-shelf cannabis indoors gives you absolute control over every environmental variable, from spectrum intensity and ambient humidity to nutrient availability and canopy architecture. While indoor cultivation requires an initial investment in gear, mastering the core pillars of lighting, climate, root mediums, and canopy management guarantees consistent, high-potency harvests year-round.
Indoor Cultivation System Overview
| Criteria | Organic Soil System | Hydroponics / Coco System |
|---|---|---|
| Operational Complexity | Low to Moderate (Water mostly; natural buffer) | Moderate to High (Daily EC/pH testing required) |
| Growth Speed | Steady, natural development pace | Rapid (30% faster vegetative growth) |
| Yield Potential | Moderate to High (Dense, terpene-rich flowers) | Maximum biomass per square foot |
| Margin for Error | Forgiving (Microbes cushion minor pH mistakes) | Strict (Rapid reaction to root zone errors) |
1. Grow Tent Setup & Lighting Selection
The biggest advantage of growing indoors is absolute control over the environment. To achieve this, you need a closed ecosystem. For most home growers, this means utilizing a specialized grow tent.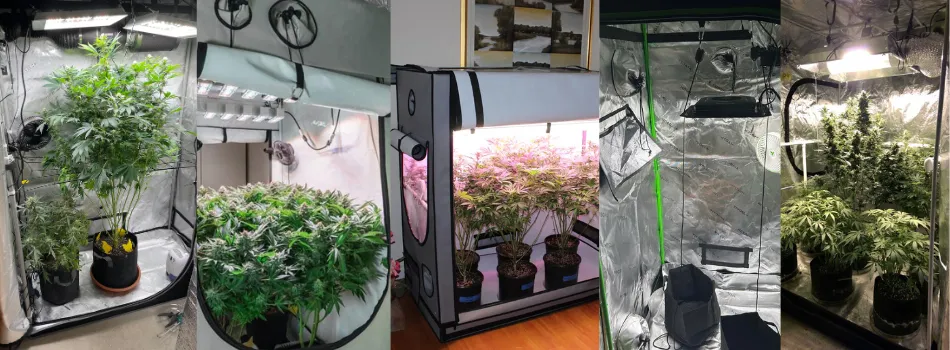
According to recent studies published in Frontiers in Plant Science, dialing in your Vapor Pressure Deficit (VPD)—the precise relationship between temperature and humidity—is critical for optimal plant transpiration. To control this, your tent needs three main components:
- Extraction System: An inline fan connected to a carbon filter pulling hot, stale, and odorous air out of the tent.
- Air Circulation: Oscillating clip fans moving air above and below the plant canopy to strengthen stems and prevent mold.
- Climate Controls: A humidifier, dehumidifier, or heater hooked up to an automated controller to keep the environment stable.
2. Choosing Your Growing Medium
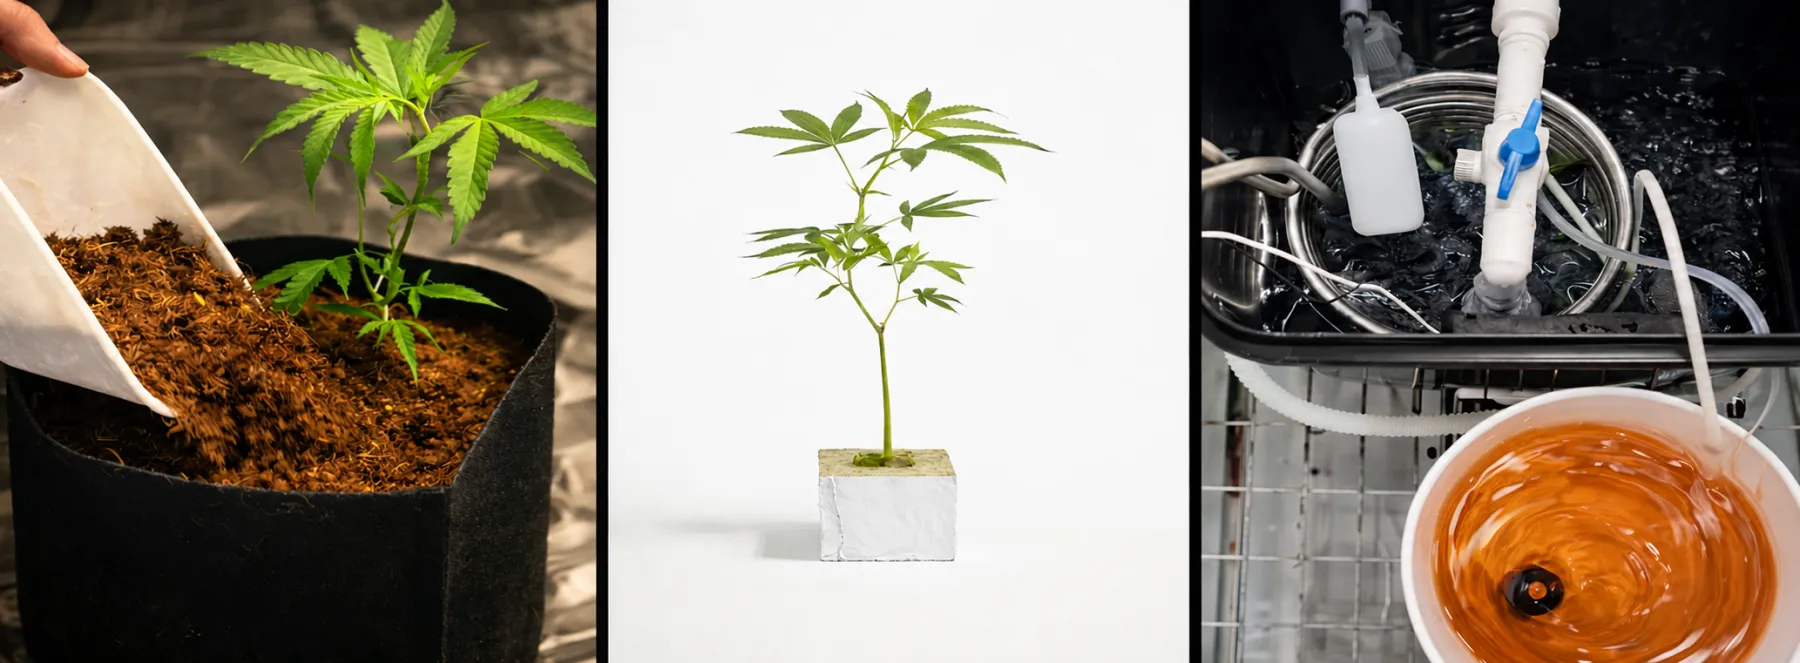
- Organic Living Soil: Microbial food webs break down organic matter into slow-release nutrients. Soil naturally buffers pH, making it the most forgiving medium for beginners.
- Coco Coir & Perlite: An inert medium that provides high root aeration. Functions as a drain-to-waste hydroponic system requiring precise daily fertigation.
- Hydroponics (DWC): Bare roots are suspended directly in oxygenated nutrient solution, yielding the fastest vegetative growth rates possible.
3. Climate Control & Vapor Pressure Deficit (VPD)
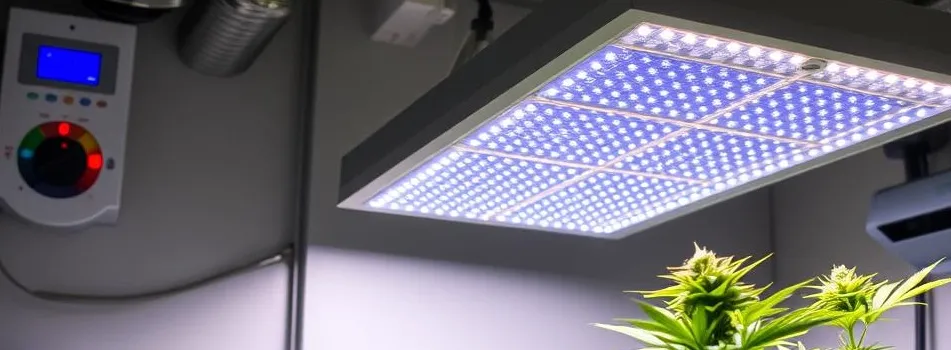
- Seedling Stage: 75°F–80°F (24°C–26.5°C) | 65%–70% RH | 0.4 – 0.8 kPa VPD
- Vegetative Stage: 75°F–82°F (24°C–27.5°C) | 55%–65% RH | 0.8 – 1.2 kPa VPD
- Flowering Stage: 68°F–75°F (20°C–24°C) | 40%–50% RH | 1.2 – 1.5 kPa VPD
4. Nutrient Management & pH Lockout
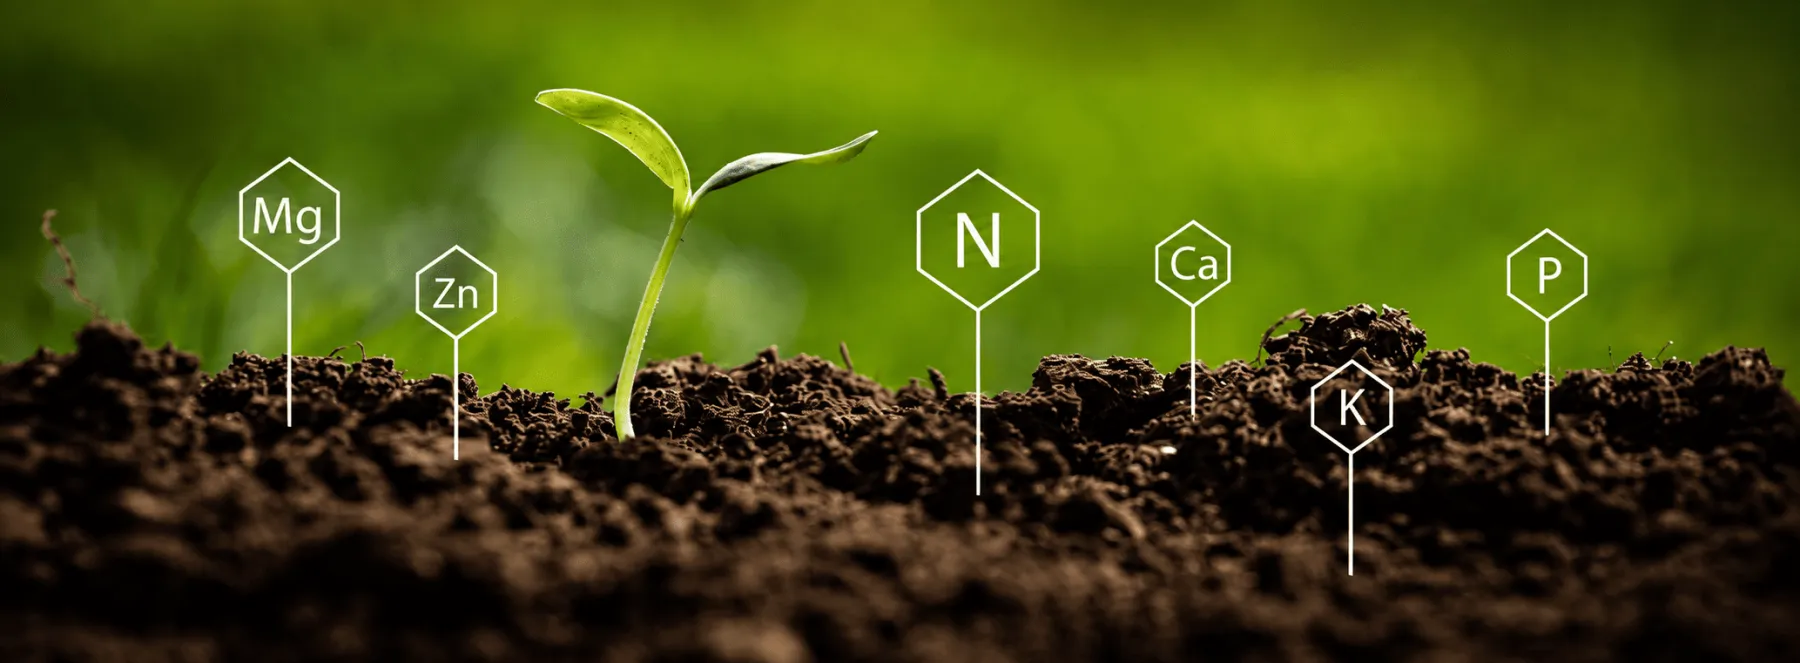
- Target Soil pH: 6.0 to 6.8
- Target Coco/Hydro pH: 5.5 to 6.2
- EC Monitoring: Measure Electrical Conductivity (EC) of input feeds and runoff water to prevent salt buildup and nutrient burn.
5. Canopy Management & Plant Training
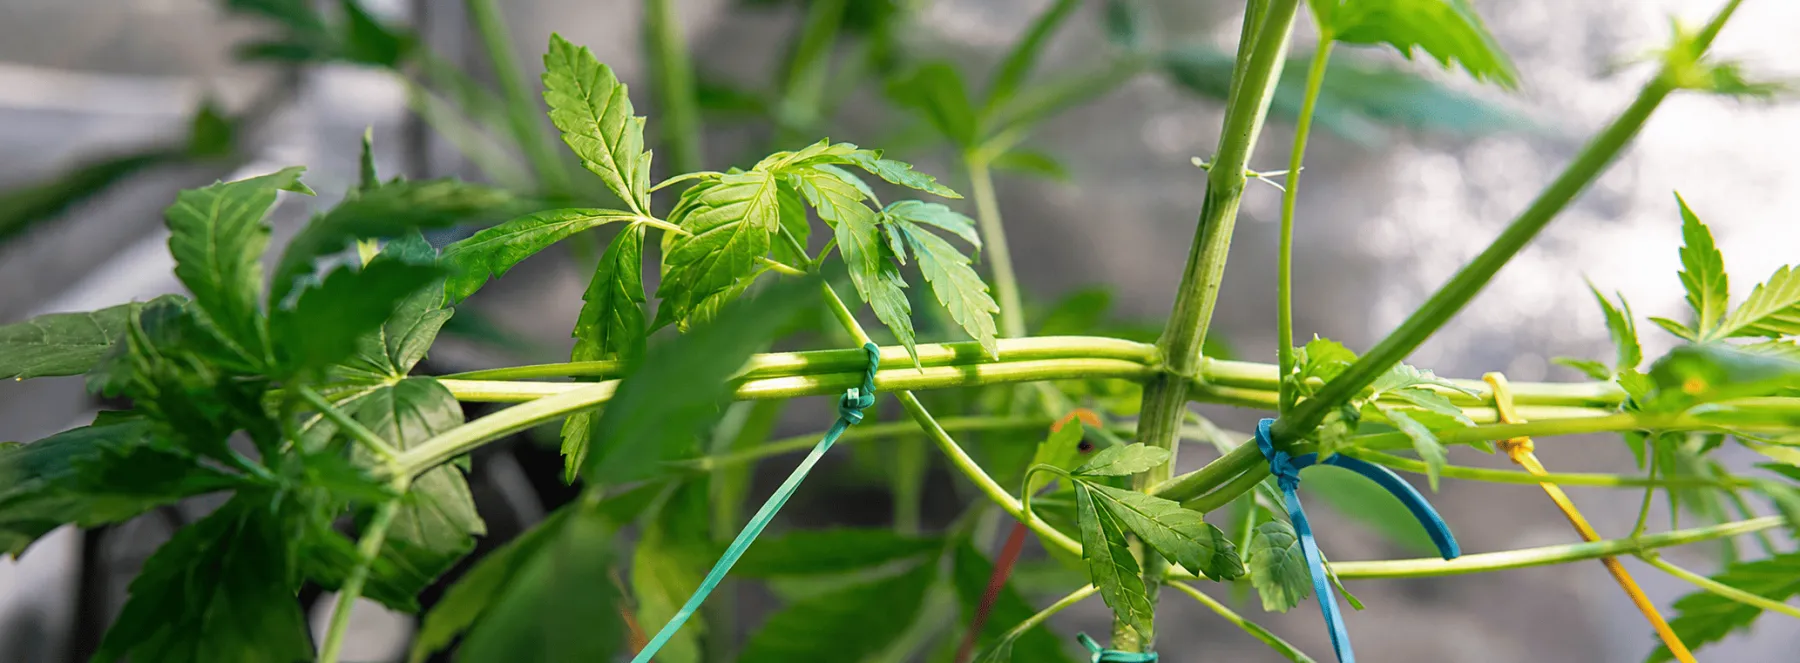
- Low-Stress Training (LST): Bending and tying down branches without cutting tissue.
- Topping & FIMming: Cutting vegetative shoots to multiply primary main colas.
- Screen of Green (SCROG): Weaving branches through a horizontal trellis screen to maximize light footprint efficiency.
6. Integrated Pest Management (IPM)
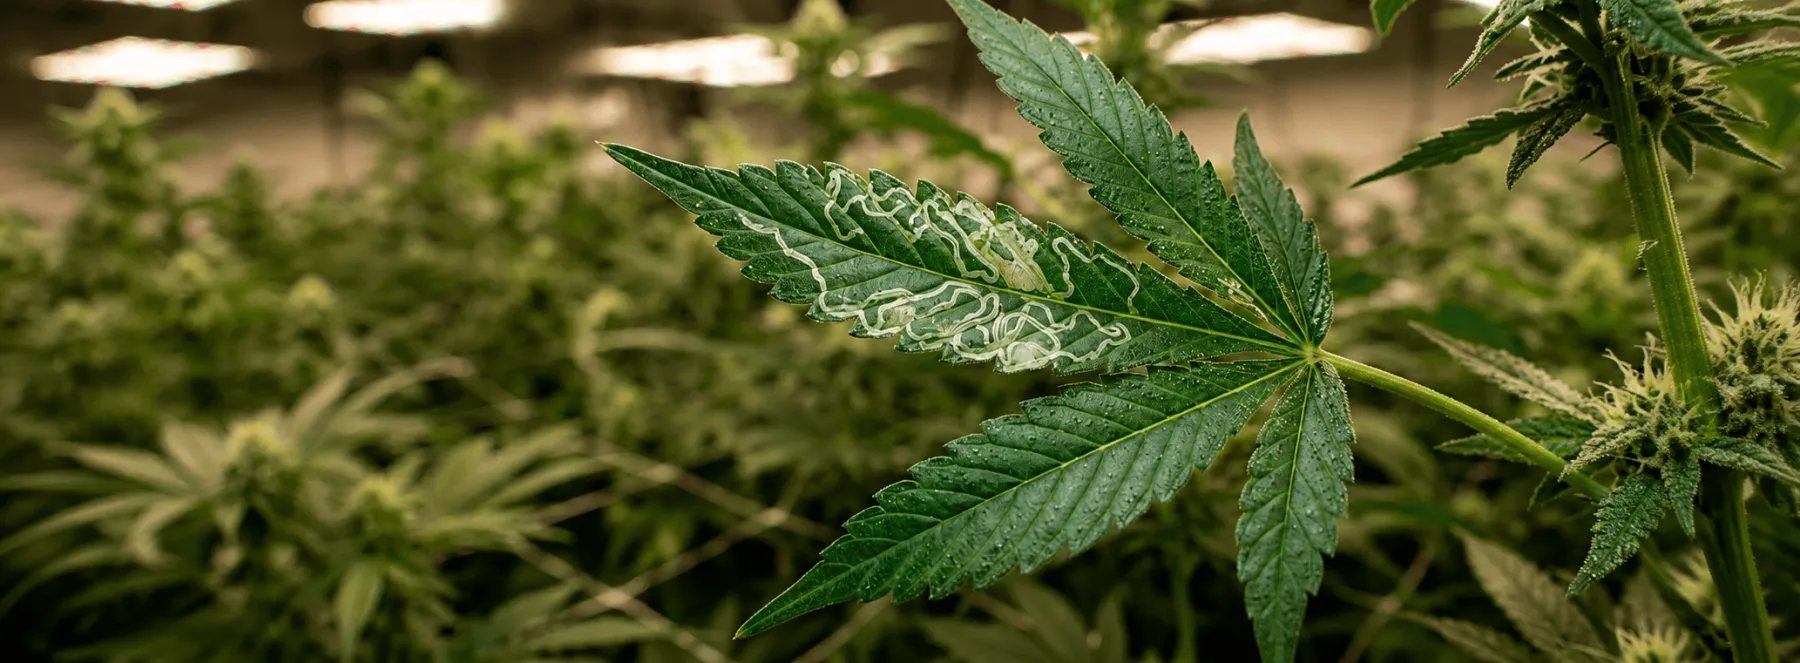
- Insects: Target spider mites, thrips, and fungus gnats during veg using sticky traps, BTI, and beneficial biological predators (Phytoseiulus persimilis).
- Fungus & Mold: Prevent White Powdery Mildew (WPM) and Botrytis (bud rot) by keeping late-flower relative humidity under 45% and maintaining active canopy airflow.
7. The Grow Timeline: Germination to Cure
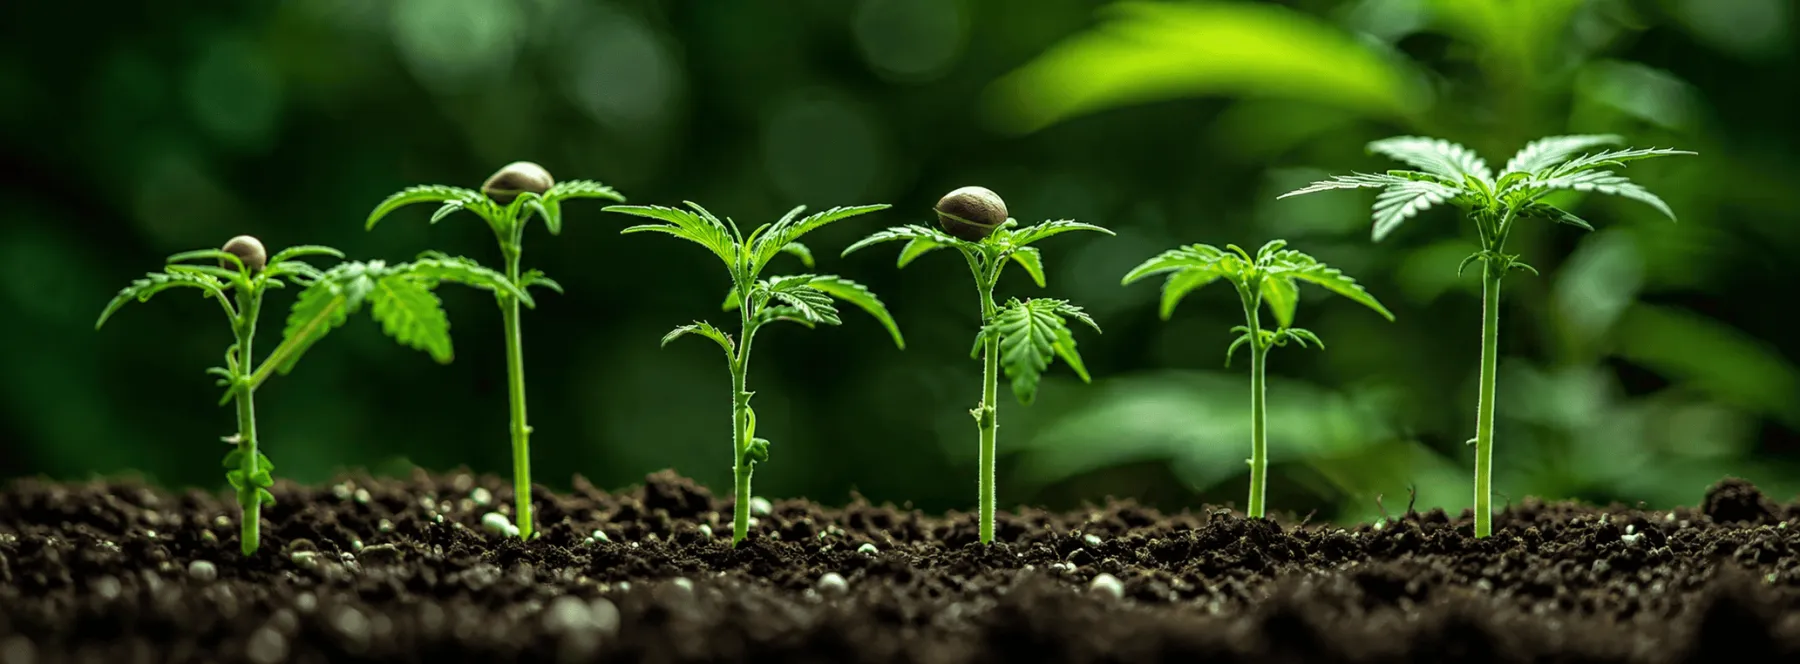
- Germination & Seedling (Weeks 1–2): High humidity and gentle PPFD.
- Vegetative Stage (Weeks 3–8): 18/6 light cycle; rapid structural branch growth and canopy training.
- Flowering Stage (Weeks 9–16+): 12/12 light cycle; resin development and bud expansion.
- Harvest, Dry, & Cure (Weeks 17+): Harvest based on trichome clarity (milky vs. amber), dry at 60°F/60% RH for 10–14 days, and jar cure for 4+ weeks.
Frequently asked questions
How much does it cost to set up an indoor grow?
A quality starter setup for a 2x2 or 4x4 tent typically ranges from $300 to $800. The bulk of this budget should be allocated to your LED grow light and your exhaust system.
How long does it take to grow weed indoors?
Depending on the specific strain and how long you choose to keep the plant in the vegetative stage, it generally takes 3 to 5 months from germinating the seed to smoking cured bud.
Does growing indoor weed smell?
Yes. During the late flowering and drying stages, the odor is extremely pungent. You must run a high-quality inline fan and carbon filter 24/7 to scrub the air before it is exhausted from your tent.
Should I start from seeds or clones?
Seeds offer stronger taproot development and freedom from introduced pests. Clones provide guaranteed female genetics and identical growth uniformity, cutting 2–3 weeks off the overall vegetative timeline.
Authoritative sources
References supporting factual claims and further reading in this guide.