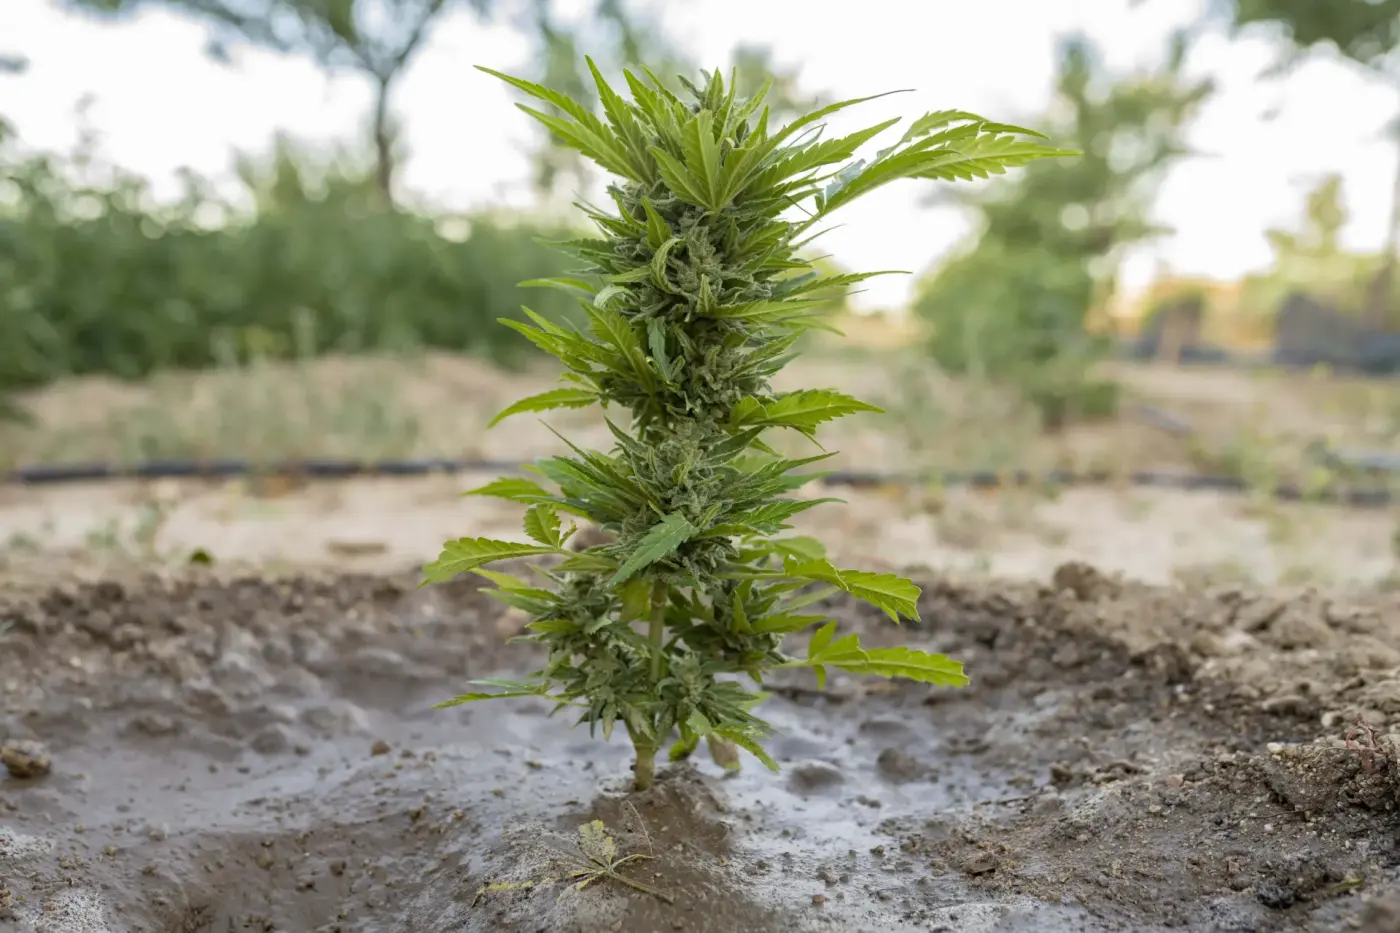
Outdoor Cannabis Soil Preparation: Compost, Amending & Living Soil
Learn how to build rich, living soil for outdoor cannabis. Master native soil testing, pH adjustment, no-till beds vs. fabric containers, and organic amendments.
At a glance
Key takeaways
Amend in advanceMix dry organic amendments into beds at least 30 to 60 days before planting ("cooking the soil") to allow microbial activation without burning young roots.
Inoculate root zonesApply endo-mycorrhizal fungal powder directly to plant root balls during transplanting.
Protect topsoilNever leave living soil bare under direct sunlight; always cover with a 3-inch mulch layer to preserve moisture and beneficial soil life.
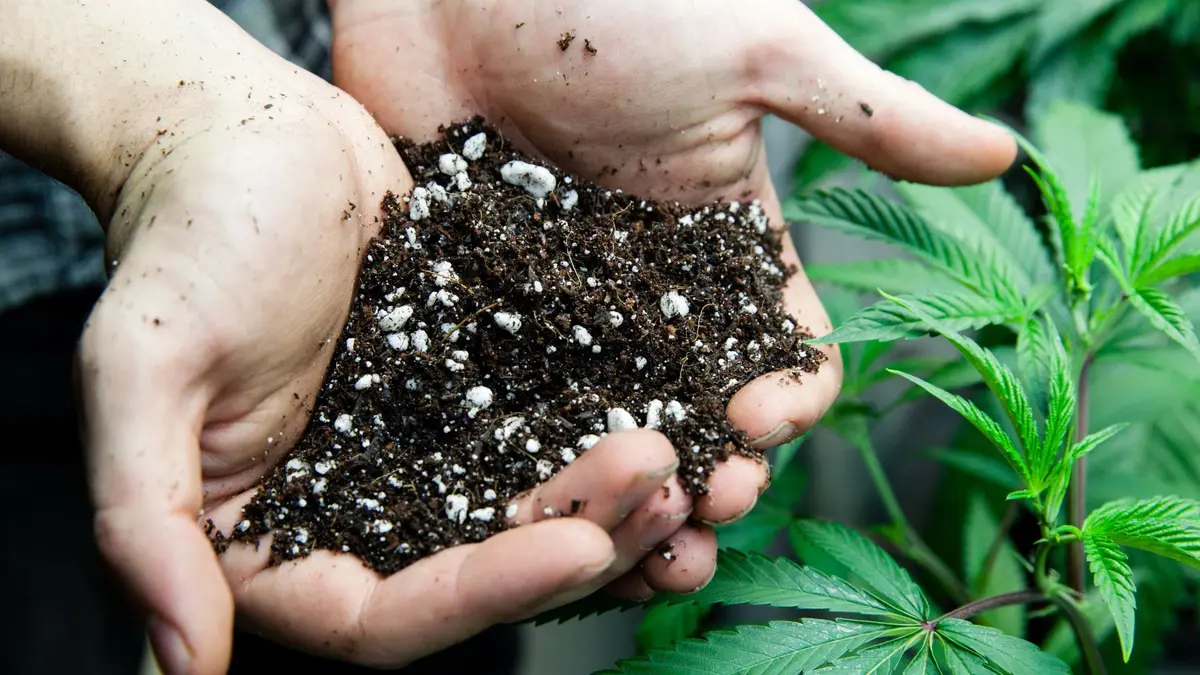
The foundation of high-yielding outdoor cannabis begins long before seeds sprout in spring. Building a thriving, biologically active living soil network allows plants to pull water and nutrients on demand, reducing reliance on bottled synthetic fertilizers while maximizing terpene and cannabinoid expression. Building healthy living soil is central to our complete outdoor cannabis cultivation guide:
Learn how to grow massive outdoor cannabis plants from seed to harvest. Master living soil prep, strain selection, microclimates, irrigation, IPM, and weather protection.
1. Native Soil Testing (Clay, Sand, Loam) and pH Balancing
Before dumping truckloads of topsoil into your garden bed, analyze your ground's native texture and chemical composition. Native soils generally fall into three categories:
Clay Soil: Heavy and nutrient-rich, but compacts easily and drains slowly, risking root rot. Requires heavy aerating amendments like pumice, rice hulls, and coarse leaf compost.
Sandy Soil: Drains rapidly and warms up quickly in spring, but struggles to hold nutrients or volumetric water. Requires rich organic compost, biochar, and peat moss or coco coir to retain moisture.
Loam Soil: The gold standard. Balanced mix of sand, silt, and clay that holds moisture while permitting oxygen penetration.
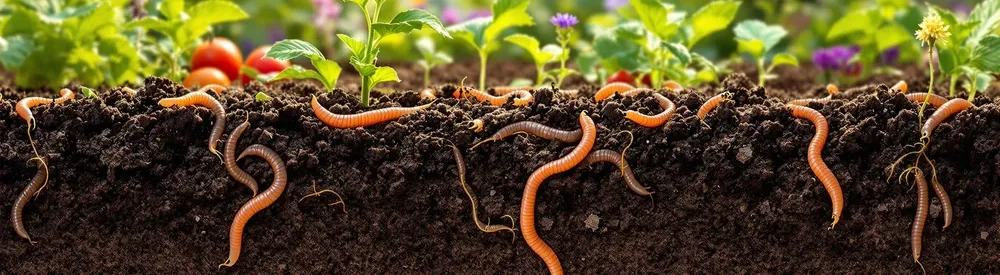
Active biological activity inside organic living soil bed.
Conducting the Mason Jar Soil Texture Test
Fill a straight-sided glass jar 1/3 full with dry, sifted garden soil.
Fill the rest of the jar with clean water and 1 teaspoon of liquid dish soap.
Shake vigorously for 3 minutes, then place on a flat surface.
Measure the settled layers: Sand settles in 1 minute, Silt settles in 2 hours, Clay settles after 24–48 hours. Calculate the percentage of each to determine your texture type.
Target a root zone pH between 6.0 and 6.8. If your native soil tests below 5.8 (acidic), incorporate agricultural lime (calcium carbonate) or dolomitic lime. If it tests above 7.2 (alkaline), amend with elemental sulfur or peat moss to lower the pH gradually.
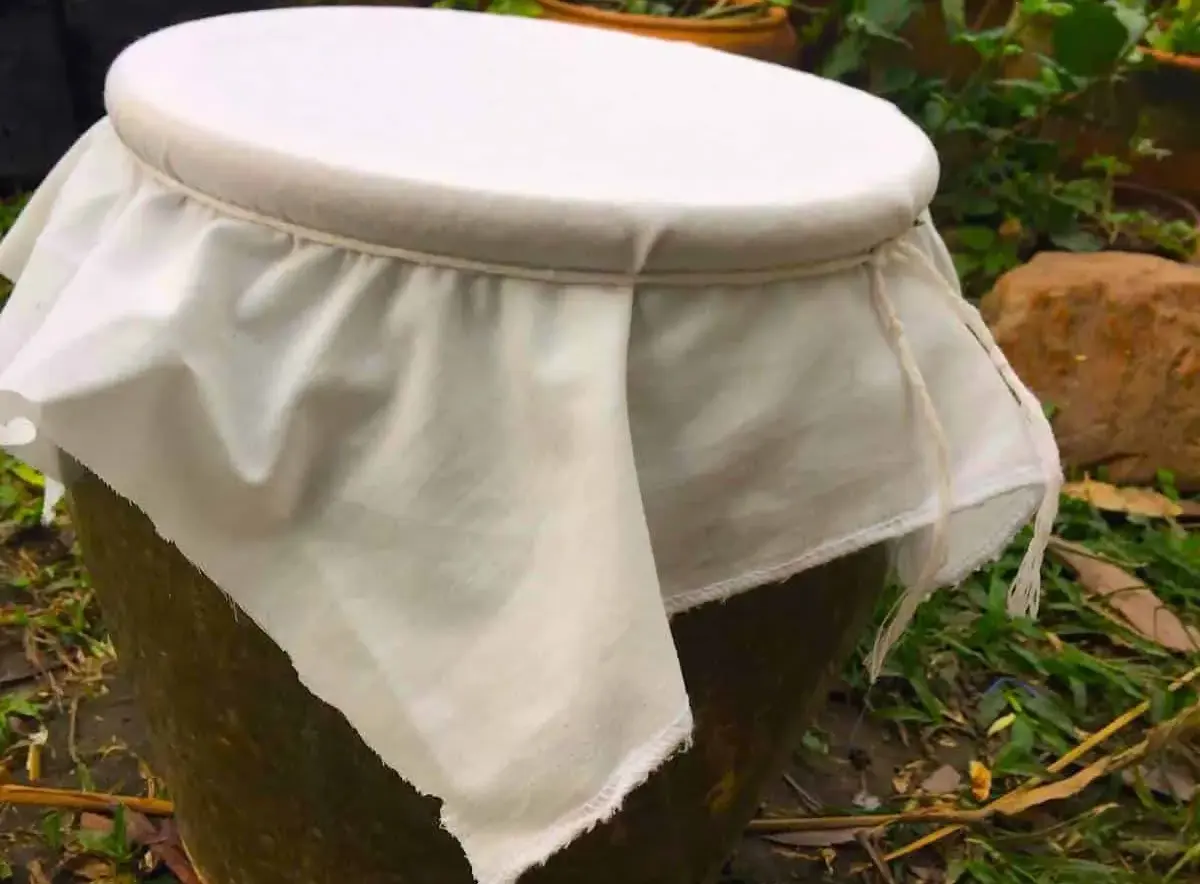
Learn how to transform fruits, weeds, and tree leaves into potent, bio-available liquid fertilizers using Fermented Fruit Juice (FFJ), JADAM Liquid Fertilizer (JLF), and Anaerobic Plant Extracts:
Compare sugar-based fermented fruit juice with JADAM plant ferments. Learn preparation principles, method-specific dilution, storage precautions and realistic nutrient expectations.
2. Building No-Till Living Soil Beds vs. Fabric Smart Pots
Cultivators can build living soil directly in ground beds or inside large raised containers. Each method has distinct biological dynamics.
No-Till In-Ground Beds
In no-till living soil, soil structure remains undisturbed across seasons. Microorganism networks and fungal hyphae break down organic matter naturally, establishing permanent pathways for root expansion and deep water retention.
Large Fabric Smart Pots (50 to 100+ Gallons)
Fabric containers provide exceptional root aeration and allow growers to mix a completely customized soil medium from scratch (e.g., a classic 1:1:1 "Super Soil" mix of peat/coco, compost/castings, and perlite/pumice aeration). Large soil volumes hold moisture efficiently, making them ideal for automated drip irrigation for outdoor cannabis:
Building organic living soil relies on combining slow-release organic inputs that break down via bacterial and fungal digestion over several months.
Core Organic Amendment Categories
Nitrogen (N) Sources: Blood meal, feather meal, alfalfa meal, and high-nitrogen bat guano. Essential for rapid vegetative fan leaf expansion.
Phosphorus (P) & Potassium (K) Sources: Bone meal, soft rock phosphate (P), kelp meal, and sunflower ash (K). Drives strong root development and flower mass.
Microbiology & Structure: Earthworm castings, composted forest humus, biochar (pre-charged with compost tea), and endo-mycorrhizal fungi inoculants.
"Cooking" refers to letting newly mixed organic soil sit moist for 2 to 6 weeks. As microbes decompose raw amendments like blood meal and manure, the process generates internal heat. Letting the soil cool down to ambient temperature ensures it won't burn delicate plant roots upon transplanting.
Can I reuse my outdoor living soil next year?
Yes. In fact, living soil improves over time. Re-amend your beds each spring based on a simple soil test by top-dressing with fresh compost, worm castings, and mineral dusts, avoiding the need to replace soil blocks between seasons.
Evidence and further reading
Authoritative sources
References supporting factual claims and further reading in this guide.